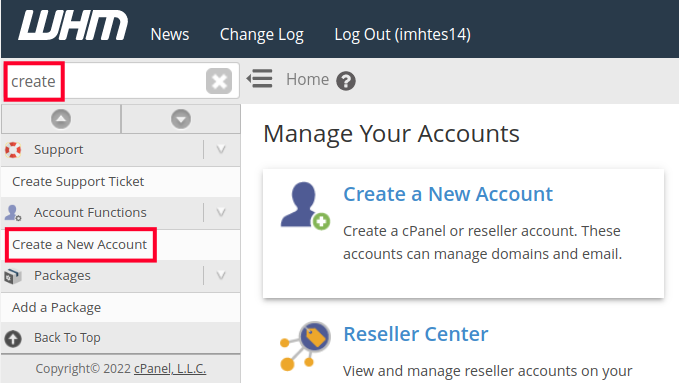
- Log in to WHM.
- Type “create” in the search box then click Create a New Account in the Account Functions section.
- Fill in the fields on the Domain information page. Below is a description of the options:
Domain The primary domain name for the cPanel account. Username Username for logging into the cPanel. Password Password for logging into the cPanel. Email Email address to receive cPanel account notifications. 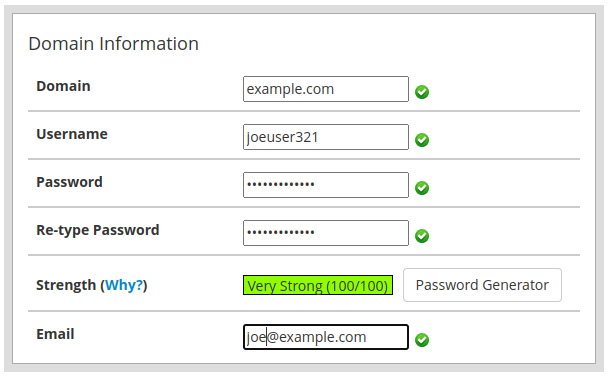
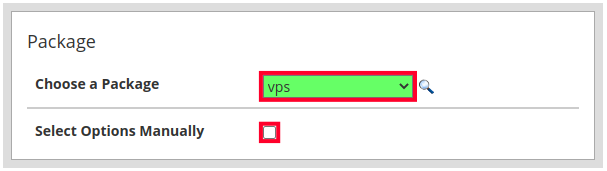
- Select the desired package from the dropdown menu or check the Select Options Manually box to choose custom resource options.
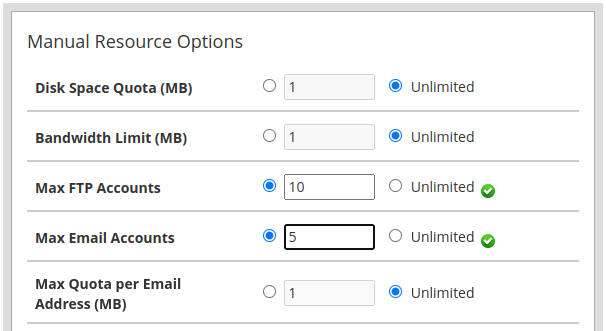
- If you chose to select your options manually you can set limitations for disk space, bandwidth, and databases or make them unlimited.
- Select your default theme and locale then choose your SpamAssassin settings.
cPanel theme Layout and design of the cPanel dashboard. Locale Default language for the cPanel. Enable Apache SpamAssassin SpamAssassin is an email filter that can flag suspected spam messages or send them to a spam box. Enable Spam Box If you enabled SpamAssassin it will automatically add a spam flag to the subject line of messages and deliver them to your inbox. But when you enable the spam box they will be sent to a separate spam folder instead. 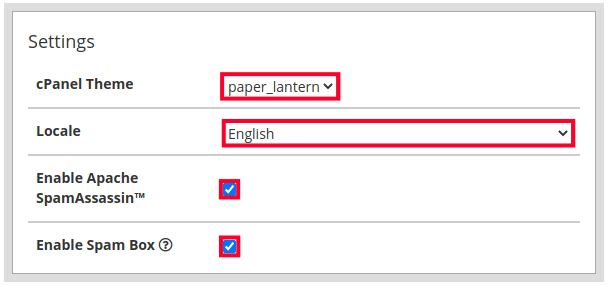
- Set the Mail Routing Settings.
Automatically Detect Configuration cPanel looks to the MX records to determine whether to send mail locally or remotely. Local Mail Exchanger Use when mail is expected to always come to the local server. Backup Mail Exchanger cPanel will use the local server if remote mail attempts fail. Remote Mail Exchanger Use when mail is expected to be sent elsewhere (third party email). 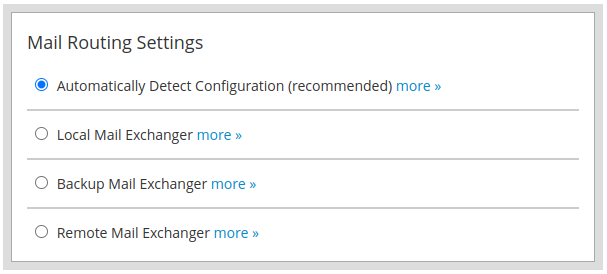
- Set your DNS Settings.
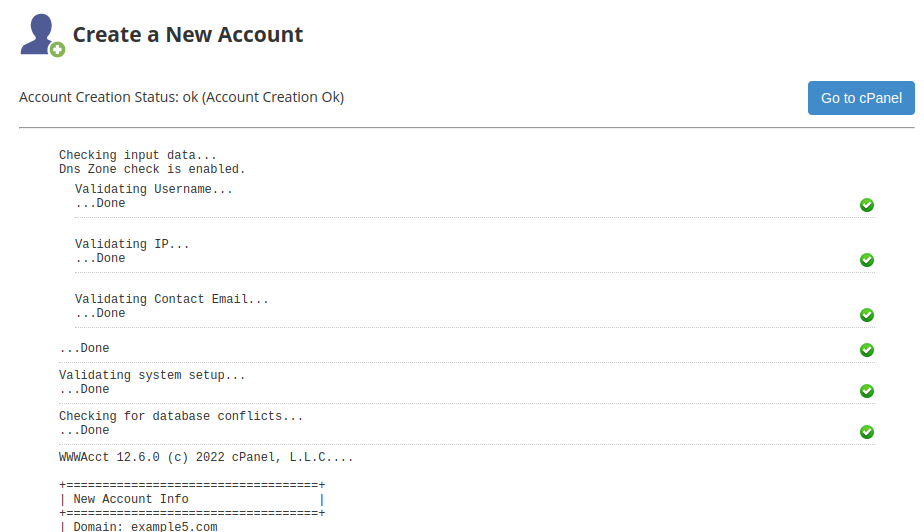
Enable DKIM on this account DKIM (DomainKeys Identified Mail) helps verify that an email was not modified and came from a valid sender. Enable SPF on this account SPF (Sender Policy Framework) records are used to identify the servers that are allowed to send mail for your domain. A recipient server can then check the SPF record when an email is received and confirm it was sent from a valid server. Use the nameservers specified at the Domain’s Registrar This will disregard any nameserver settings you may have in your cPanel and follow the registrar instead. Overwrite any existing DNS zones for the account Enable this to remove and replace any existing DNS zones with this latest record. - Click on the Create button. Your new cPanel account will then be set up and when it is complete you will see a “Account Creation Ok” message along with a summary log.
Congratulations, now you know how to create a cPanel account in WHM for your Reseller Hosting, VPS, or Dedicated server!